Learning embroidery-digitizing may seem complicated at first, but it can be made simple when broken down into clear, beginner-friendly steps. Digitizing transforms images, logos, and artwork into stitch files that embroidery machines can read. For beginners, understanding this process opens up opportunities to create custom apparel, merchandise, and branding materials. With the right tools and support from providers like Quality Digitizing, even newcomers can achieve professional results. To understand why embroidery is such an enduring craft, the Wikipedia article on embroidery offers a valuable historical perspective.
Table of Contents
What Is Embroidery Digitizing?
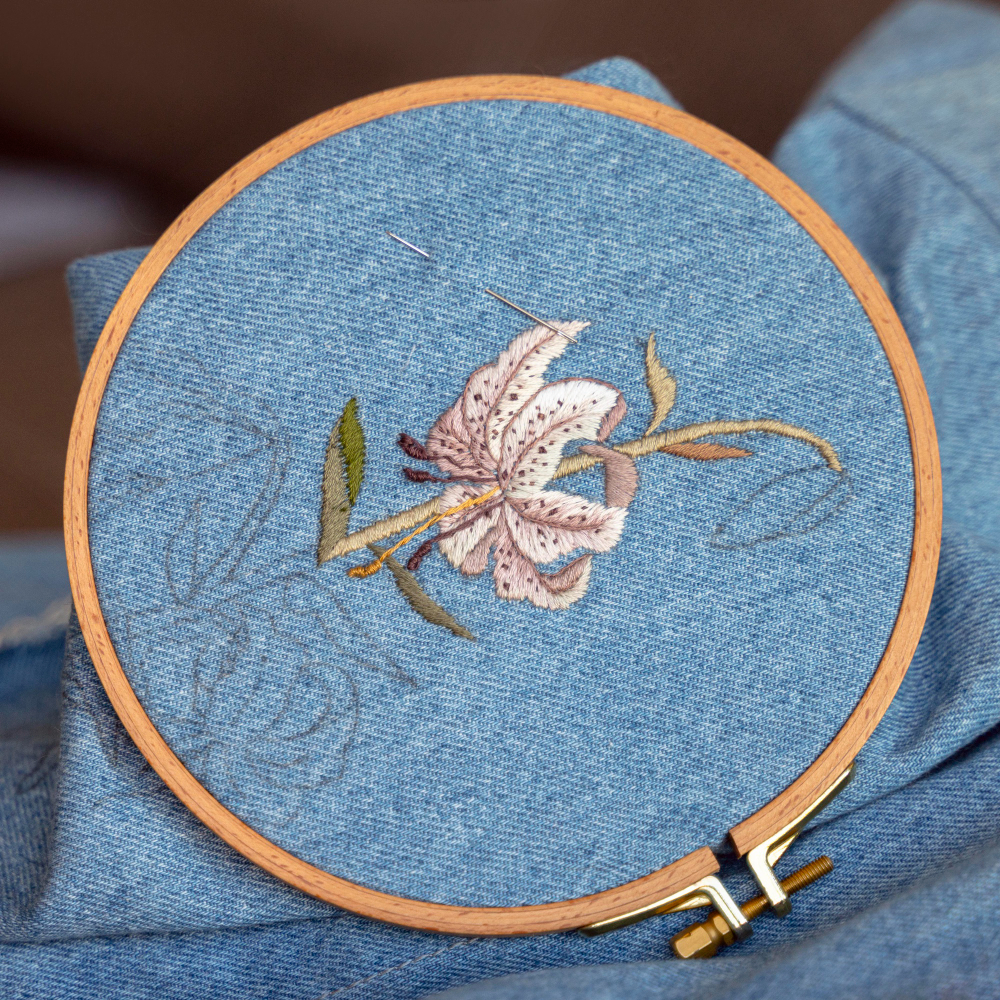
Embroidery-digitizing is the process of converting artwork into stitch paths for embroidery machines. Unlike simple image files, digitized files include precise instructions such as stitch type, density, and direction. These details determine how the final embroidery will look and feel on fabric.
Why Embroidery-Digitizing Matters
Digitizing is the bridge between creative artwork and tangible embroidered products. Without digitizing, even the best logos cannot be embroidered accurately. For businesses and beginners alike, proper digitizing ensures:
- Logos remain sharp and consistent across all products.
- Embroidery machines run smoothly without thread breaks.
- Designs adapt to different fabrics without distortion.
Essential Tools for Beginners
Starting embroidery-digitizing doesn’t require a massive investment. Beginners only need a few essentials:
- Digitizing Software: Converts artwork into stitch instructions.
- Quality Artwork: The clearer the source image, the better the final embroidery.
- Embroidery Machine: Reads the stitch file and executes the design.
For those not ready to invest in software, outsourcing digitizing to professionals such as Quality Digitizing is the simplest option.
5 Easy & Hassle-Free Steps of Embroidery Digitizing
1. Import the Artwork
The process begins by loading a design file (JPEG, PNG, or PDF) into digitizing software. Beginners should start with simple shapes and logos.
2. Assign Stitch Types
Stitches such as satin, fill, or run are chosen depending on the design’s elements. Each stitch type creates a different texture and look.
3. Adjust Density and Direction
Stitch density ensures the design looks clean without damaging the fabric. Proper direction adds smoothness and detail.
4. Add Underlay for Stability
Underlay stitches prevent fabric puckering and create a solid base for embroidery.
5. Test and Finalize
Finally, the design is tested on the machine. Adjustments are made until the result matches the artwork perfectly.
Top Benefits for Beginners
Embroidery-digitizing offers several beginner-friendly advantages:
- Confidence: Beginners see professional results quickly.
- Flexibility: Designs can be reused across different products.
- Creativity: Personal ideas and artwork come to life in embroidery.
- Potential: Skills can evolve into a profitable business service.
Common Mistakes Beginners Make
Beginners often make avoidable mistakes in embroidery-digitizing, such as:
- Working with poor-quality artwork, leading to messy stitches.
- Ignoring fabric type, which causes distortion.
- Overfilling designs with unnecessary stitches.
- Skipping test runs before full production.
Practical Tips for Success
To simplify embroidery-digitizing, beginners should keep in mind:
- Start small with easy logos before tackling complex designs.
- Experiment with different stitch types to understand their effects.
- Keep density balanced to avoid stiff or puckered designs.
- Always test files before full-scale embroidery.
Why Outsourcing Helps Beginners
While learning embroidery-digitizing is valuable, outsourcing saves beginners time and frustration. Professional services like Quality Digitizing provide expertly prepared stitch files, ensuring high-quality embroidery results without trial and error. This allows beginners to focus on the creative side of embroidery while still producing polished results.
Why Choose Quality Digitizing
Quality Digitizing stands out as a beginner-friendly provider by offering:
- Affordable pricing tailored to small projects.
- Expert digitizers skilled in making designs simple yet professional.
- Fast turnaround to keep learning and projects moving forward.
- File formats compatible with all major embroidery machines.
- 24/7 customer support for guidance and revisions.
Conclusion
For beginners, embroidery-digitizing doesn’t have to be overwhelming. By following the five easy steps—importing artwork, assigning stitches, adjusting density, adding underlay, and testing—new learners can achieve impressive results. To speed up the learning process and ensure flawless embroidery, outsourcing to professionals like Quality Digitizing is highly recommended. As highlighted in the Wikipedia article on embroidery, precision has always been central to this craft. With today’s technology and expert support, even beginners can create embroidery that looks polished, professional, and hassle-free.


